Design Stunning Event Graphics with Editable Party Flyer Templates
Picture this: You're planning a special event—a music night, a New Year's celebration, or maybe just an epic weekend gathering. You've got the venue, the playlist, and the guest list sorted. But there's one thing standing between you and a packed house: the promotional graphics. You need something eye-catching, professional, and ready to share across social media platforms. That's where a well-crafted Music Night Party Social Media Post template becomes your secret weapon, saving you hours of design work while delivering polished results that actually get people excited about your event.
Why Editable Templates Are a Game-Changer for Event Promotion
Let's be honest—not everyone has the budget to hire a graphic designer for every event they host. And even if you do have design skills, starting from scratch each time is exhausting. A Party Celebration Flyer Template gives you a professional foundation that you can customize in minutes rather than hours. The layered PSD format means every element is organized and accessible, so you're not wrestling with locked layers or flattened images trying to swap out a single line of text.
What makes these templates particularly valuable is their versatility. One Night Party Flyer Template can serve multiple purposes across your entire promotional campaign. Use it as an Instagram square post, resize it for a Facebook event cover, print it as a physical flyer for local coffee shops, or embed it in your email newsletter. The 2000 x 2000 pixel dimensions at 300 dpi resolution ensure your graphics look crisp whether they're displayed on a phone screen or printed on A4 paper.
Customizing Your Flyer: A Practical Walkthrough
Working with a Modern Party Editable PSD Template in Adobe Photoshop is straightforward, even if you're not a seasoned designer. Once you open the file, you'll notice the layers are organized logically—background elements, text blocks, decorative graphics, and photo placeholders are all separated. This structure lets you make targeted changes without accidentally affecting other parts of the design.
Here's a practical approach to getting the most out of your template:
- Start with the text. Select each text layer using the Text Tool and replace placeholder copy with your event details—date, time, venue, and any special instructions. If the default font doesn't match your brand, simply highlight the text and choose a different typeface from your installed fonts.
- Swap the photo. Most templates include a smart object or placeholder image. Double-click the smart object layer, paste your own photo, save, and watch it automatically fit the designated area with the right perspective and effects applied.
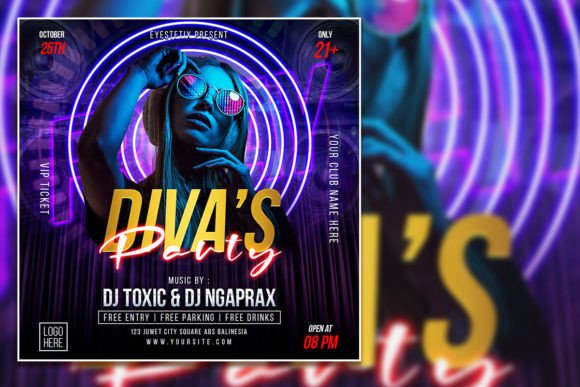
- Adjust the color scheme. Use Photoshop's Hue/Saturation adjustment layers or directly edit shape layers to match your brand colors or the mood of your event. A neon-themed music night calls for different tones than a sophisticated cocktail party.
- Toggle elements on and off. Not every decorative element needs to stay. Hide layers that feel cluttered or don't serve your specific vision. Minimalism can be just as impactful as maximalist design when done intentionally.
Beyond the Flyer: Maximizing Your Design Asset
A single Photoshop Template for an event invitation can become the backbone of your entire visual campaign. Think about all the touchpoints where your audience encounters your event branding:
- Social media posts — The primary use case, especially for platforms like Instagram, Facebook, and Twitter where square or vertical formats dominate.
- Story graphics — Crop or rearrange elements from your flyer to create countdown posts, behind-the-scenes teasers, or "last chance to RSVP" reminders.
- Digital invitations — Email the flyer directly or embed it in a digital invitation service for a cohesive look.
- Print materials — The high resolution makes it suitable for posters, handbills, and table cards at the venue itself.
- Website banners — Adapt the design elements for an event landing page that reinforces the same visual identity.
- Merchandise — For recurring events, the design could inspire branded items like wristbands, stickers, or tote bags.
This kind of visual consistency across platforms builds recognition. When someone sees your event graphic on Instagram, then encounters the same style on a printed poster downtown, the connection registers subconsciously. That's the power of maintaining a unified brand identity through thoughtful design assets.
Choosing the Right Aesthetic for Your Event
Not every party template works for every occasion. The visual tone of your promotional material should match the experience you're promising attendees. A gritty, industrial design with bold sans-serif typography suits an underground music night, while an elegant layout with script fonts and muted gold accents feels right for a New Year's gala.
Consider these pairing principles when customizing your template:
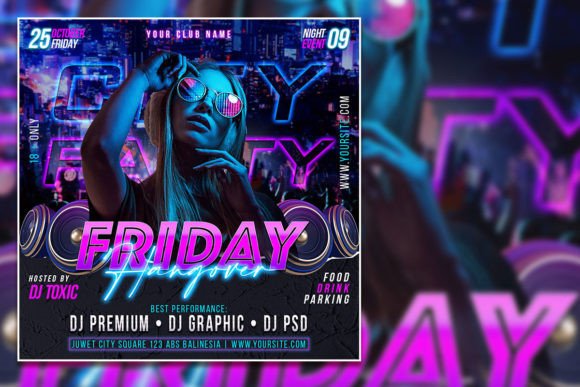
- Contrast creates hierarchy. Pair a bold display font for your event name with a clean sans-serif for the details. This ensures the most important information catches the eye first.
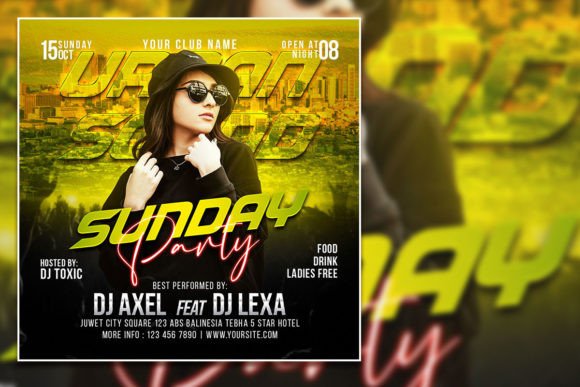
- Color communicates mood. Deep purples and electric blues suggest nightlife energy. Warm oranges and reds feel celebratory. Black and white with a single accent color reads as sophisticated.
- Negative space matters. Resist the urge to fill every corner. Let the design breathe so key details—like the date and venue—stand out clearly.
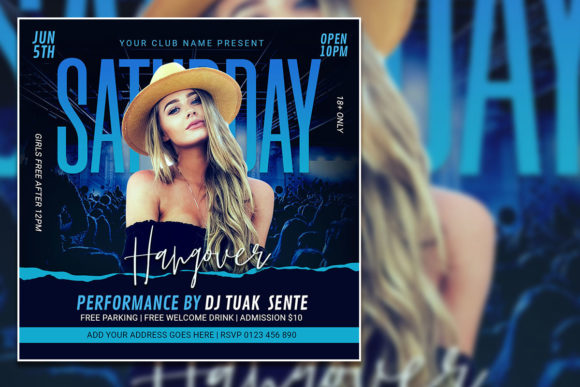
- Photo selection sets expectations. The image you choose as your focal point tells potential attendees what kind of night to expect. A crowded dance floor communicates energy; a close-up of cocktails suggests a more relaxed vibe.
Practical Tips for Better Event Graphics
After working with countless promotional designs, a few patterns emerge around what actually drives engagement and attendance:
First, readability trumps style. Your flyer might look stunning, but if people can't quickly read the date, time, and location, it fails at its primary job. Test your design at small sizes—does the text remain legible when viewed as a thumbnail on someone's phone? That's how most people will first encounter it.
Second, include a clear call to action. Whether it's "Get Tickets Now," "RSVP via Link in Bio," or "Free Entry Before 10 PM," give people a next step. The best event graphics don't just inform—they motivate.
Third, maintain a consistent posting schedule. Don't just share your flyer once and hope for the best. Create variations—teaser graphics, countdown posts, lineup reveals—using the same template as your visual foundation. This keeps your event top-of-mind without feeling repetitive because each post offers new information wrapped in familiar branding.
Fourth, think about platform-specific requirements. Instagram favors square or 4:5 vertical formats. Facebook event covers work best at 1200 x 628 pixels. Twitter posts get more engagement with images under 2:1 ratio. Your 2000 x 2000 starting point gives you flexibility to crop and adapt for each platform without losing quality.
Finally, save your customized version as a reusable template. If you host recurring events—a monthly music night, annual celebration, weekly social gathering—lock in your branded elements and only swap out the specifics each time. This builds a recognizable visual identity that your audience starts to associate with quality experiences.
The difference between an event that fills up and one that fizzles often comes down to how effectively you communicate the energy and value of what you're offering. A thoughtfully designed, professionally executed promotional graphic does exactly that—it makes people feel something before they even walk through the door. And with the right editable template at your fingertips, creating that impression becomes something anyone can do, regardless of their design background or budget constraints.